AZ Patio Heaters Patio Heater Owner's Manual
Browse online or download Owner's Manual for Space heaters AZ Patio Heaters Patio Heater. AZ Patio Heaters Patio Heater Owner`s manual User Manual
- Page / 13
- Table of contents
- BOOKMARKS
- PATIO HEATER 1
- OWNER’S MANUAL 1
- Contents 2
- General Safety Information 2
- WARNING: For Outdoor Use Only 2
- If you smell gas: 3
- 2. Extinguish open flame 3
- Assembly Instructions 4
- Assembly time: 0.5 hour 5
- .Tighten studs securely 6
- .Screw off 4 small bolts 7
- Specifications 8
- Leak Check 9
- Operation 9
- Before Lighting: 10
- Lighting: 10
- Before Turning Gas Supply ON: 10
- Operation Checklist 11
- Troubleshooting 12
- Maintenance 12
- Warranty 13
Summary of Contents
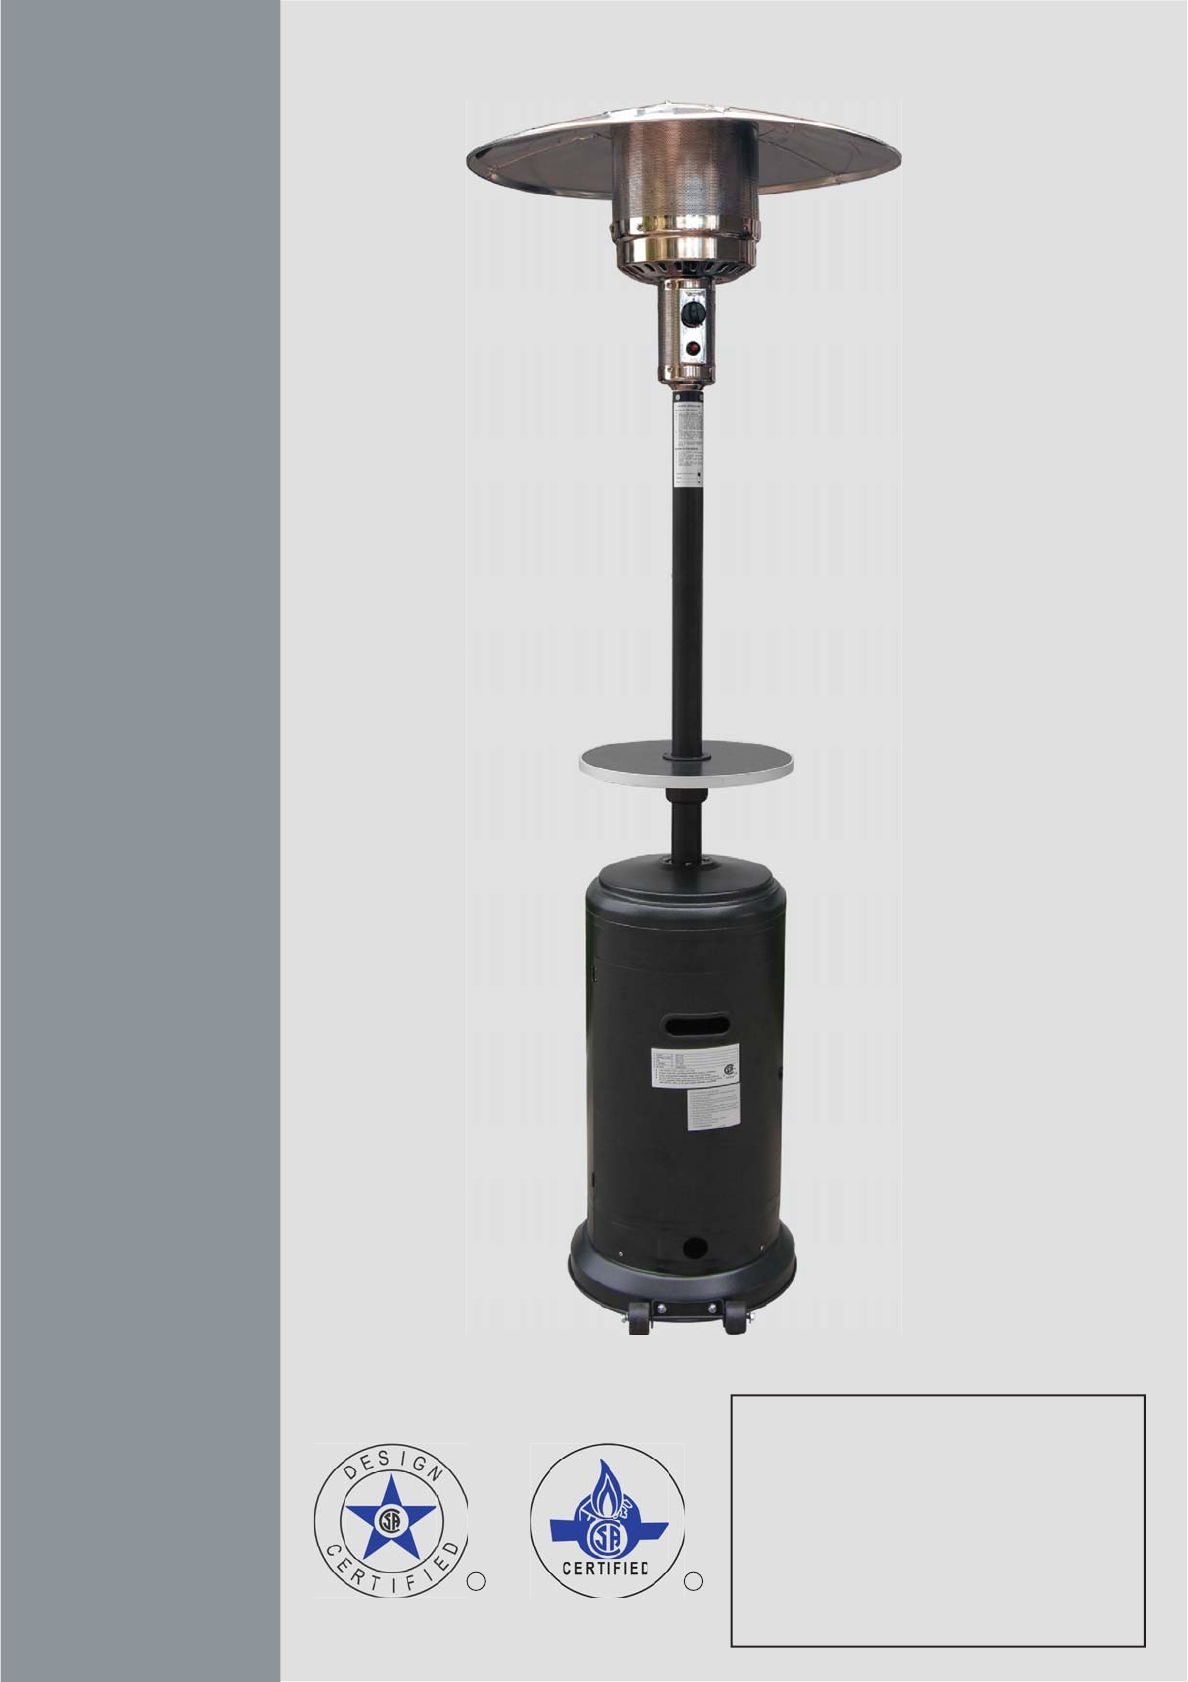
FOR MODELS:HSS-APATIO HEATEROWNER’S MANUALIMPORTANTRead this manual carefully before assembling, using or servicing this heater. Keep this manual for
9.Your heater was designed and approved for outdooruse only. Do NOT use it inside a building, garage, orany other enclosed area..Make sure surrounding
10If you experience any ignition problem pleaseconsult “Troubleshooting” on page 11.Caution: Avoid inhaling fumes emitted from theheater’s first use.
11TroubleshootingIf the problem is: And this condition exists: Then do thisPilot won’t lightCylinder valve is closed Open valveBlockage in orifice or
12.Gas odor with extreme yellow tipping of flame..Heater does NOT reach the desired temperature..Heater glow is excessively uneven..Heater makes poppi
1ContentsGeneral Safety Information... 1snoitcurtsnIylbmessAComponents & Hardware...
2DANGER• EXPLOSION - FIRE HAZARD• Keep solid combustibles, such as building materials,paper or cardboard, a safe distance away from the heateras recom
3WARNING• This product is fueled by propane gas. Propane gas isinvisible, odorless, and flammable. An odorant is normallyadded to help detect leaks an
4HardwarePicture Qty DescriptionUsed inStep(s)44Small Bolt444 Small Screw 39Large FlatWasher6 & 99Small FlatWasherSmall FlatWasher89 Cap Nut 83Win
5Lay Bucket inside of Base and screw on large nut.Tighten with Philips screwdriver..To improve the stability , please fill the bucketwith Sand.Step
6.Load Head Assembly by inserting hose into post..Insert Head Assembly into post..Control knob should be above decal on post..Attach Head Assembly to
7Step 9 – Attach Reflector Assembly to Studs.Support Heater..Slide 3 Large Flat Washers over threaded end ofStuds..Locate Reflector Assembly on 3 stud
8Leak CheckWARNING• Perform all leak tests outdoors.• Extinguish all open flames.• NEVER leak test when smoking.• Do not use the heater until all conn
More documents for Space heaters AZ Patio Heaters Patio Heater


Related products and manuals for Space heaters AZ Patio Heaters Patio Heater
 (15 pages)
© 2020, manymanuals.com. All rights reserved. | 0.745 s |
 Manymanuals.com
 Manymanuals.de
 Manymanuals.fr
 Manymanuals.it
 Manymanuals.pl
 Manymanuals.cz
 Manymanuals.es
 Manymanuals-pt.com
Comments to this Manuals